Building your own planter boxes can be a rewarding and fulfilling project that adds both functionality and beauty to your outdoor space. With the gardening season in full swing, you might find yourself craving a fresh way to grow your favorite plants. That’s why I created this post – to inspire you with 14 DIY planter box ideas that you can tackle this weekend. Whether you’re a seasoned gardener or just starting out, these projects are budget-friendly and will give you that creative boost you’ve been looking for.
If you’re someone who loves the idea of gardening but is hesitant about spending a fortune on pre-made products, you’re in the right place. This guide is perfect for anyone who wants to create their own stunning wooden planter boxes or explore unique garden container ideas while keeping costs low. You’ll find various designs that suit different spaces and styles, making it easy for you to personalize your garden or patio.
Expect to gain practical insights and step-by-step ideas that will help you get started right away. From classic cedar planter boxes to funky upcycled tire planters, you’ll have your pick of versatile designs that are not only appealing but also easy to build. So roll up your sleeves and get ready to dig in – your weekend project awaits!
Key Takeaways
– Explore 14 unique DIY planter box ideas that cater to various gardening styles and needs, ensuring there’s something for everyone.
– Learn to create budget-friendly outdoor decor projects that enhance your space without breaking the bank.
– Discover the versatility of wooden planter boxes and other materials such as recycled tires and cinder blocks, allowing for a variety of styles.
– Benefit from practical tips and step-by-step guides that make weekend DIY gardening projects manageable and fun.
– Find inspiration to express your creativity while developing a space that reflects your personal gardening style, making your outdoor environment more inviting.
1. Vertical Pallet Planter Box
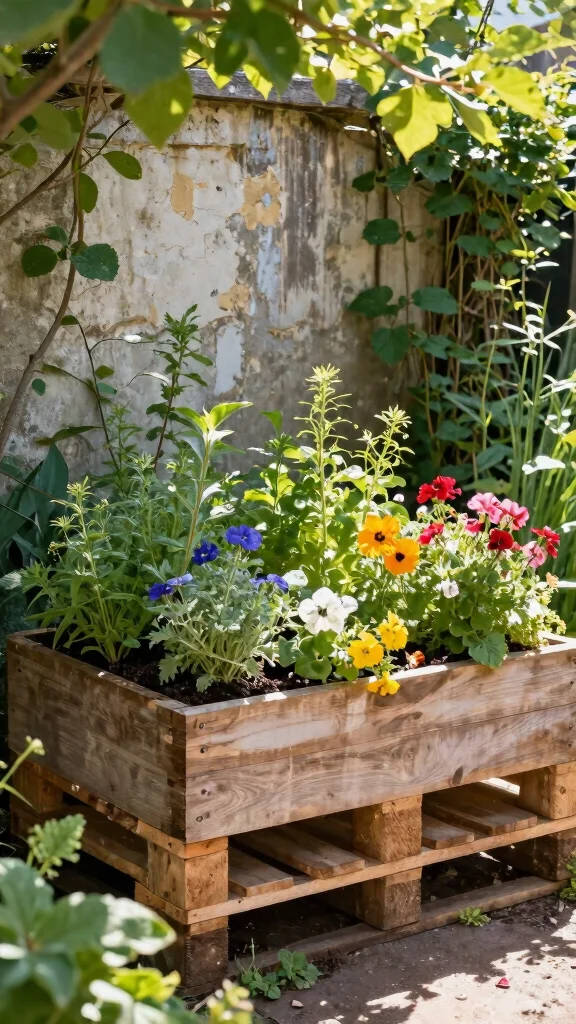
Looking to add some flair to your garden without taking up too much space? A vertical pallet planter box is a perfect solution! This creative approach transforms an old wooden pallet into a multi-tiered garden, ideal for growing herbs, vibrant flowers, or succulents. By leaning it against a wall, you not only save ground space but also create an eye-catching focal point in your outdoor area.
To make your vertical garden, start by finding a sturdy pallet. Clean it up, sand it down, and consider adding a splash of color with outdoor paint or wood stain. Attach landscape fabric to the back and sides to keep your soil in place, then fill each tier with potting soil and your favorite plants.
Key steps to get started:
– Choose a sturdy wooden pallet
– Clean and sand it for safety
– Attach landscape fabric for soil retention
– Fill with potting soil and plant your favorites
This DIY project not only beautifies your space but provides a functional way to grow your plants, allowing you to enjoy your blooming vertical garden in no time!
Fun fact: A vertical pallet planter box makes planter boxes diy heroes, squeezing herbs and flowers into tiny spaces. Pro tip: sand, seal, and secure each tier for sturdy, space-saving growth. Hang it lean-against a wall for a striking, practical focal point.
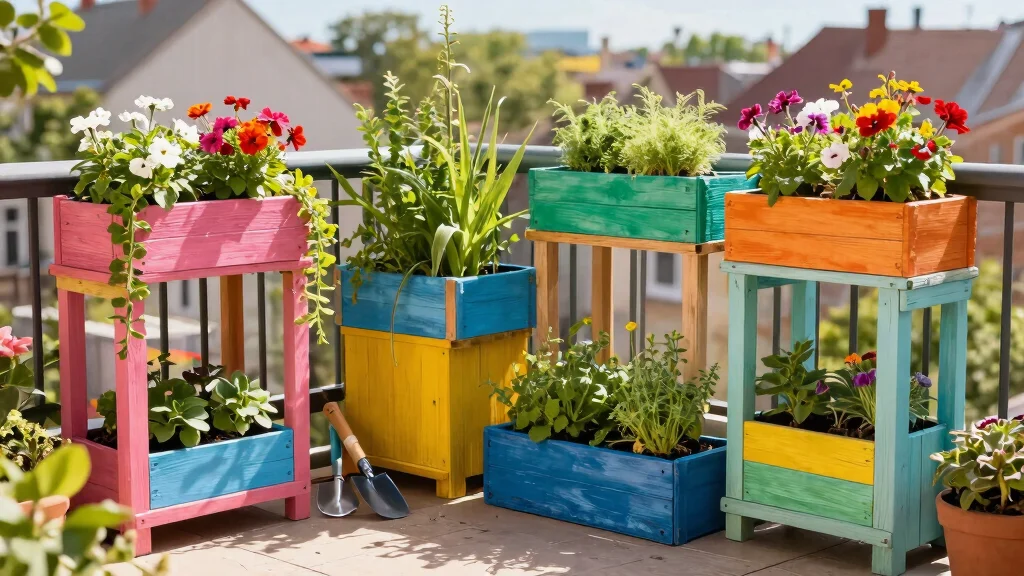
2. Stackable Wooden Planter Boxes
Need a flexible gardening solution that adapts to your space? Stackable wooden planter boxes are your answer! These versatile boxes can be arranged in various configurations, allowing you to customize your garden to fit your needs. Constructed from scrap wood, they are also an affordable choice for anyone looking to grow vegetables or create a mini herb garden.
To start, cut your wooden boards into equal rectangles that stack well. Sand down any rough edges for a polished look, and drill holes in the corners to secure them together. Once assembled, stack them in your preferred formation and fill with potting soil and plants.
Key steps to get started:
– Cut wooden boards into stackable rectangles
– Sand edges for a smooth finish
– Secure boxes with screws
– Fill with potting soil and plant your favorites
These stackable boxes allow you to change your garden layout with the seasons, making gardening both fun and practical!
Difficulty Rating & Requirements
Overall Difficulty Rating: Medium
Building DIY planter boxes can range from easy to challenging, depending on the design you choose. Most projects require basic woodworking skills and some familiarity with power tools. If you have a bit of experience with DIY projects, you’ll find this task manageable. It’s also suitable for beginners willing to learn as they go, especially with the right guidance and instructions.
Time Estimate:
⏱ Estimated time: 4-8 hours
Most planter boxes can be completed within a weekend. Here’s a breakdown of major phases:
1. Planning & Design: 1-2 hours (Choose your design and gather materials)
2. Cutting & Preparing Materials: 2-3 hours (Measure, cut, and sand your wood)
3. Assembly: 2-3 hours (Putting the pieces together and any finishing touches)
4. Planting: 1 hour (Filling with soil and adding plants)
Skill Requirements:
– Required skills: Basic woodworking, measuring, cutting, and assembly
– Beginner-friendly: Yes
Beginners can definitely take on these projects, especially with simple designs. Skills like using a saw or drill can be learned as you work. However, more intricate designs may require some prior experience with tools and techniques.
Tools & Materials Needed:
🧰 Essential items checklist:
– Wood (cedar or treated lumber): Required
– Saw (hand saw or power saw): Required
– Drill (with bits): Required
– Measuring tape: Required
– Wood screws or nails: Required
– Sandpaper: Optional (for a smoother finish)
– Wood stain or sealant: Optional (for weatherproofing)
– Paintbrush: Optional (if using stain or sealant)
Step-by-Step Overview:
1. Planning & Design: Start by sketching your planter box. Decide on the size and style, and make a list of materials needed. This phase takes about 1-2 hours.
2. Cutting & Preparing Materials: Measure and cut your wood pieces according to your design. Sand edges to avoid splinters. This step may take 2-3 hours.
3. Assembly: Using your drill or screws, assemble the planter box. Ensure everything is secure and square. You can expect this to take around 2-3 hours.
4. Finishing Touches: If desired, apply wood stain or sealant for protection. Allow it to dry according to the product instructions.
5. Planting: Fill your new planter with soil and add your favorite plants. This final step should take about an hour.
Professional vs DIY: Building a planter box yourself can save you a significant amount of money. A professionally made wooden planter can cost $100 or more, depending on the size and materials. In contrast, a DIY version made from affordable materials can be crafted for around $30-$50. If you find a design too complex or lack the time, hiring a carpenter might be worth considering. However, most designs are simple enough that you can tackle them without professional help, especially with the guidance in this article.
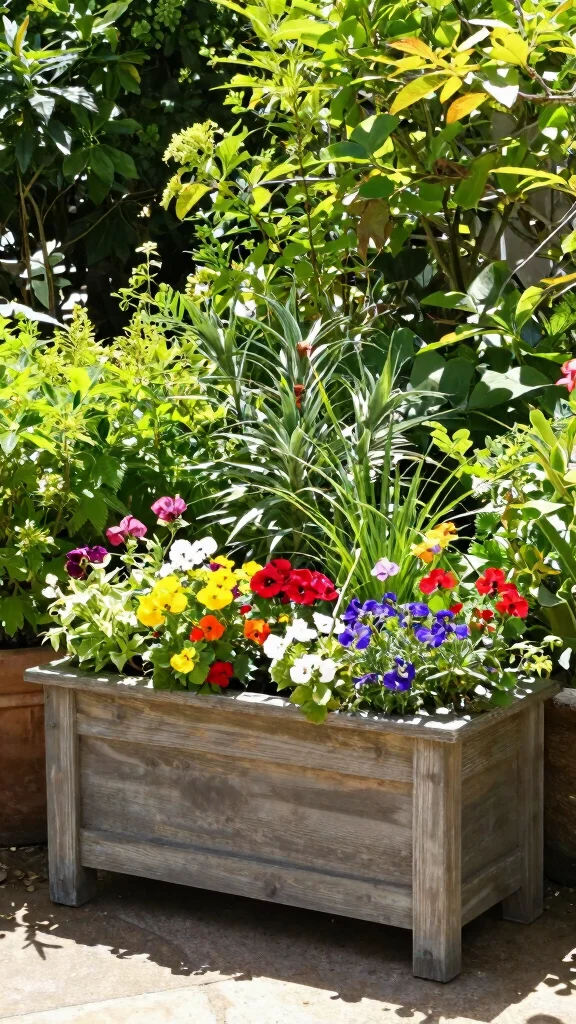
3. Classic Cedar Planter Box
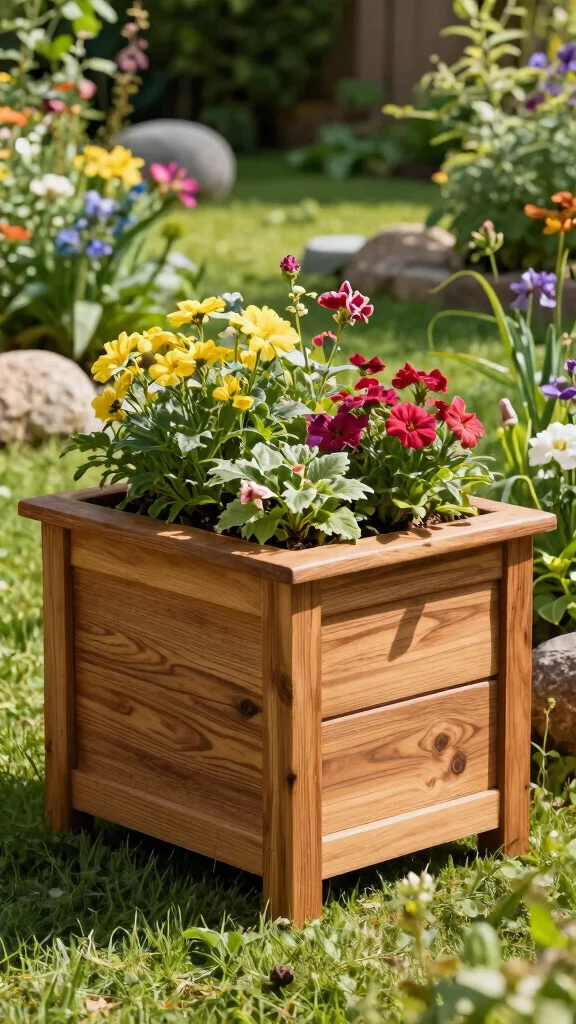
Want to add a touch of elegance to your garden? A classic cedar planter box is the way to go! Known for its natural resistance to rot, cedar wood is ideal for outdoor use and can be crafted into any size or shape to complement your garden layout. This timeless design not only looks great but also provides a durable home for your plants.
Start by measuring and cutting cedar planks into pieces for the base, sides, and bottom of your planter. Assemble the box by screwing the sides to the base, then attach the bottom. Sand the edges for a smooth finish, and if you like, treat the wood with a sealant to extend its life.
Key steps to get started:
– Measure and cut cedar planks
– Assemble with screws for stability
– Sand edges for smoothness
– Fill with soil and plant your favorites
This classic planter box enhances your garden’s beauty while ensuring your plants thrive for years to come!
4. Hanging Planter Boxes
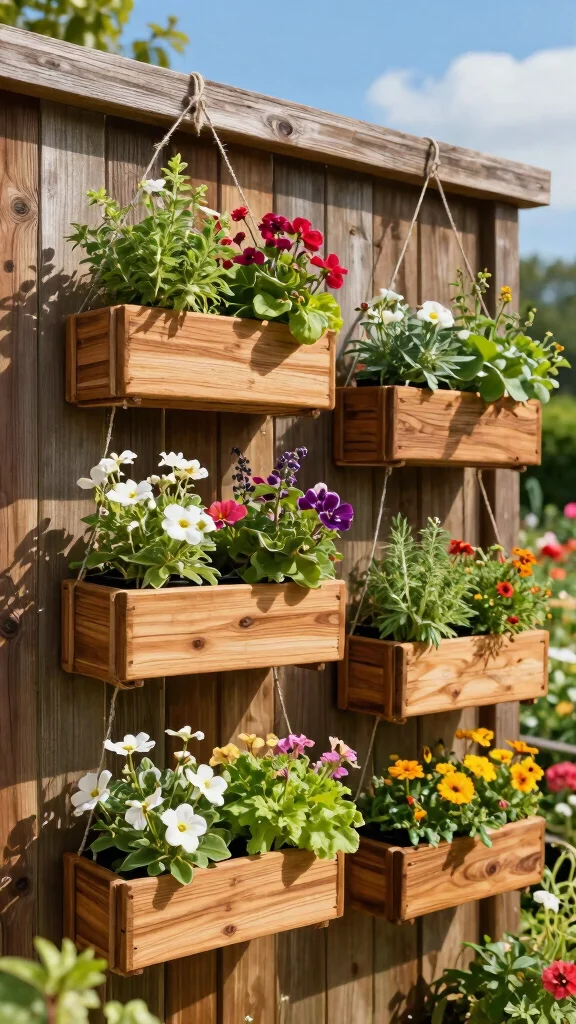
Short on ground space? Hanging planter boxes are a fantastic way to utilize vertical areas! Perfect for fences, walls, or balconies, these planters allow you to create a colorful display of flowers or herbs that catches the eye.
Select lightweight wooden boxes or crates, and drill holes in the corners for hanging with rope or chain. Once secured, fill them with potting soil and your choice of plants. Hanging them at different heights adds an artistic touch to your garden.
Key steps to get started:
– Choose lightweight wooden boxes or crates
– Drill holes for hanging securely
– Fill with potting soil and plant selections
– Hang at varying heights for visual appeal
This project not only saves ground space but also elevates your outdoor decor, making your garden a delightful sight!
5. Recycled Tire Planters
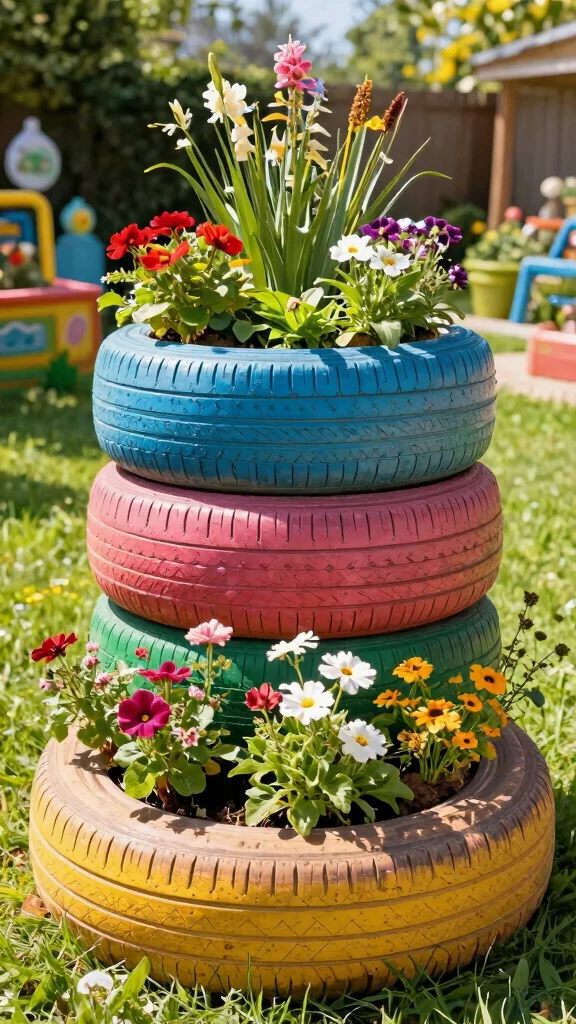
Turn those old tires into unique planters! This fun and eco-friendly project not only saves money but also allows you to express your creativity. You can stack, paint, or cut the tires into fun shapes to bring personality to your garden.
Start by cleaning the tires thoroughly to remove dirt and chemicals. If you wish, paint them in bright colors to add some flair. Fill the tires with potting soil, then plant flowers or vegetables inside.
Key steps to get started:
– Clean tires to ensure safety
– Paint in bright colors if desired
– Fill with potting soil and plant selections
– Arrange creatively in your garden
This playful design is a great conversation starter and a fantastic way to recycle materials while enjoying budget-friendly gardening!
Fun fact: A stack of 3 recycled tires becomes a vertical planter that fits on a balcony. With 5 simple steps—clean, paint, fill, plant, and enjoy—you’ll have a low-cost, eco-friendly garden in no time, perfect for planter boxes diy.
6. Corner Planter Box
Maximize your garden’s potential by utilizing those often-overlooked corners! A corner planter box is a stylish solution that fits snugly into patio or yard corners, making use of every inch of space.
Begin by measuring your corner space and cutting wood planks accordingly. Assemble the box, ensuring it fits perfectly into the corner, and sand the edges for a smooth finish. Finally, fill it with soil and plant your favorite flowers or herbs.
Key steps to get started:
– Measure and cut wood planks for your corner
– Assemble the box for a snug fit
– Sand edges for a polished look
– Fill with soil and plant your favorites
This planter box not only enhances functionality but also adds a modern touch to your garden, making it a worthwhile weekend project!
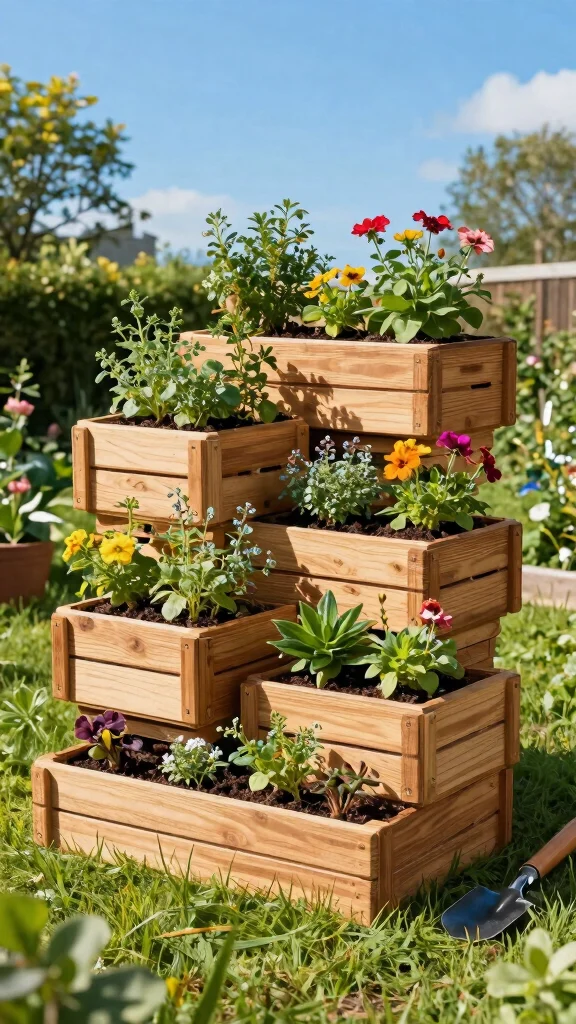
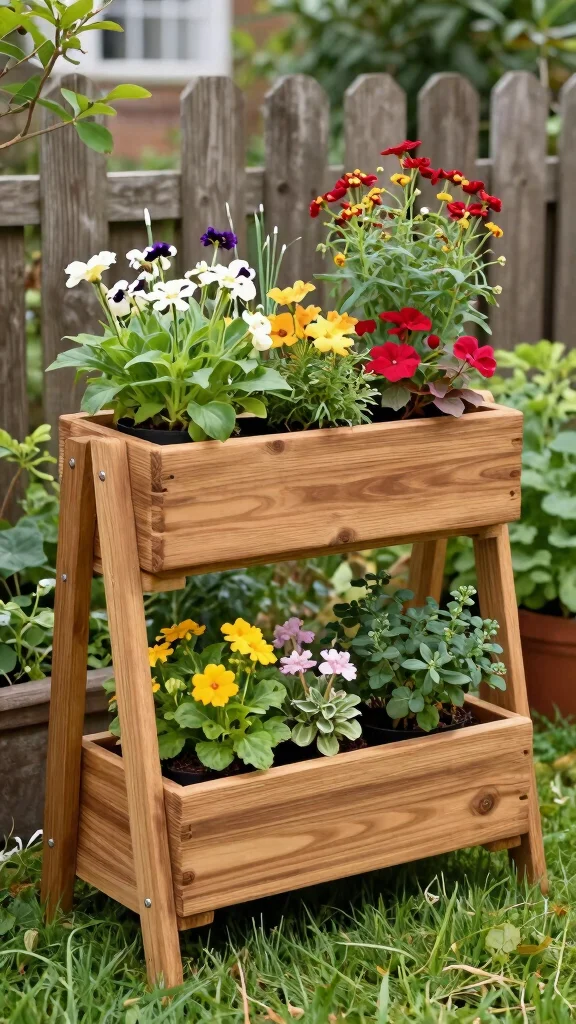
7. Tiered Garden Planter
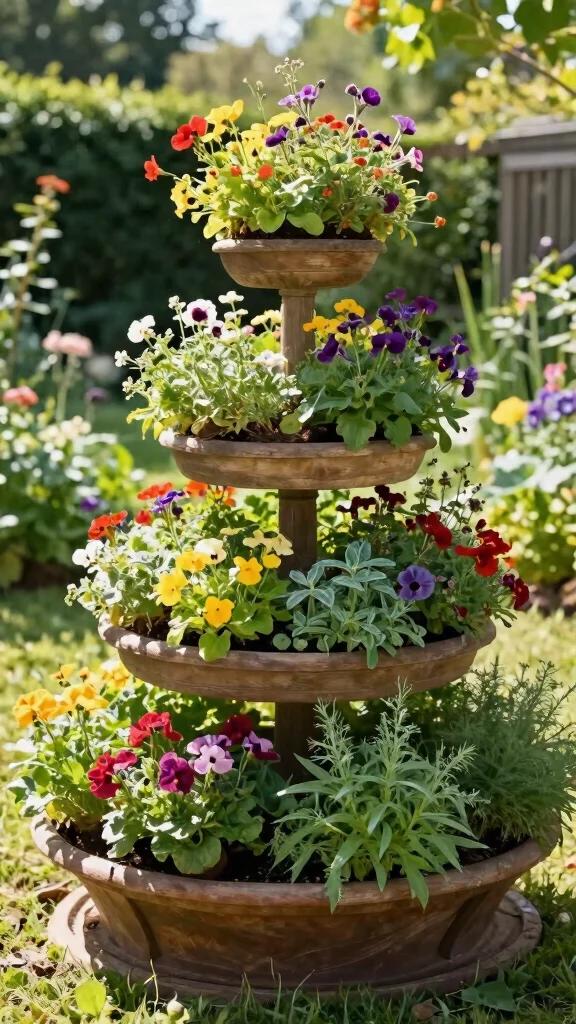
Add charm and organization to your garden with a tiered garden planter! This multi-level design allows for various plants to flourish in the same space, creating a beautiful visual display.
Start by cutting wooden boards into different lengths for each tier. Secure the tiers together with screws and sand down any rough edges. Fill each tier with soil and plant your selections for an abundant look.
Key steps to get started:
– Cut boards into varying lengths for tiers
– Assemble securely with screws
– Sand rough edges for a polished finish
– Fill each tier with soil and plant selections
The tiered effect not only enhances plant care but also adds height and dimension to your garden layout!
8. Window Box Planter
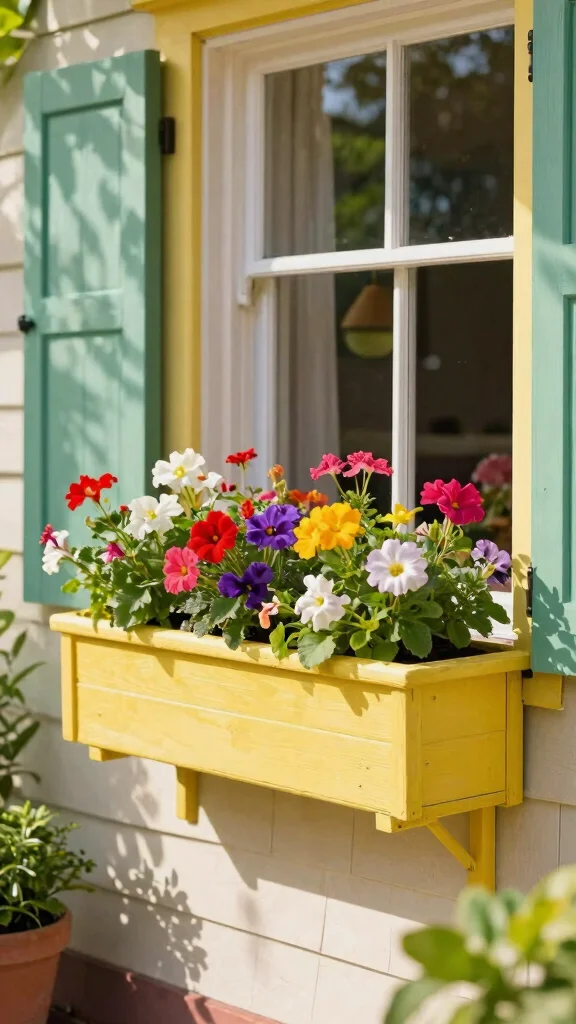
If you live in a small space, a window box planter is the perfect touch for your home’s exterior! These charming planters allow flowers and herbs to thrive while providing a lovely view from inside.
Start by measuring the window space and cutting your wood accordingly. Assemble the box and treat the wood for weather resistance. Secure it under your window with screws, then fill it with potting soil and plants.
Key steps to get started:
– Measure window space and cut wood to fit
– Assemble the box and treat for weather resistance
– Secure under window with screws
– Fill with potting soil and plant your favorites
This project enhances your home’s curb appeal while providing a unique opportunity to grow plants in limited spaces!
9. Rustic Wooden Crate Planter

Transform old wooden crates into rustic planter boxes to create a charming farmhouse look! These crates offer plenty of space for planting and are easy to customize to your taste.
Clean the crates and sand them down as needed. Optionally, treat the wood for added durability. Fill the crates with potting soil and plant your selections for a delightful garden addition.
Key steps to get started:
– Clean and sand crates for safety
– Optionally treat wood for durability
– Fill with potting soil and plant selections
This DIY project not only adds character to your garden but also reuses materials that might otherwise go to waste!
10. DIY Cinder Block Planter
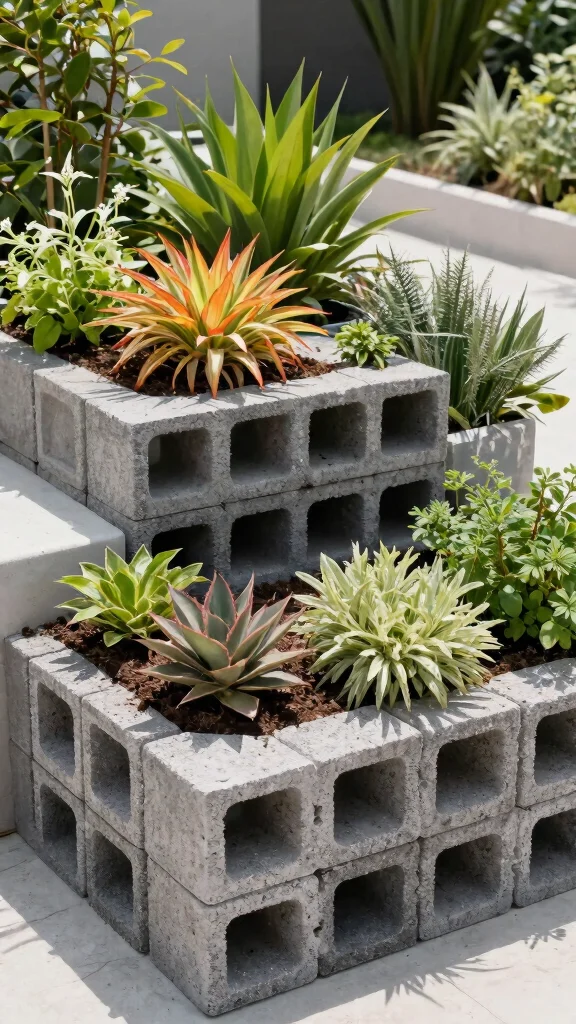
Cinder blocks can be more than just building materials—they make for a unique planter box! Create an industrial-style garden with each block holding a variety of plants.
Arrange the cinder blocks in your desired shape, stacking them as needed. Fill the cavities with potting soil and plant your choice of flowers or herbs.
Key steps to get started:
– Arrange cinder blocks in your desired configuration
– Fill cavities with potting soil
– Plant your favorite flowers or herbs
This project is budget-friendly and allows for easy customization, fitting perfectly into any outdoor space!
DIY tip: Stacking cinder blocks turns a dull corner into a compact vertical planter you can customize in minutes. Fill the cavities with soil, plant herbs, and watch your space bloom—without breaking the bank.
11. Upcycled Wooden Shoe Rack Planter
Breathe new life into an old shoe rack by turning it into a stylish planter box! This upcycling project lets you create a unique planter that is easy to maintain and visually appealing.
Clean the shoe rack thoroughly and consider painting or treating it for outdoor use. Fill each shelf with potting soil and plant your selections for a fun gardening setup.
Key steps to get started:
– Clean shoe rack for safety
– Optionally paint or treat for durability
– Fill shelves with potting soil and plant selections
This planter not only saves space but also brings a whimsical touch to your gardening experience!
12. A-frame Planter Box

Create a stunning visual effect in your garden with an A-frame planter box! This design maximizes planting area while providing easy access to every plant.
Cut wood to form a triangular A-frame structure and assemble it securely. Once your frame is ready, fill it with potting soil and plant your favorites for a beautiful display.
Key steps to get started:
– Cut wood into triangular shapes for the frame
– Assemble securely for stability
– Fill with potting soil and plant selections
This unique design is not only visually appealing but also practical for gardening in small spaces!
13. Concrete Planter Box
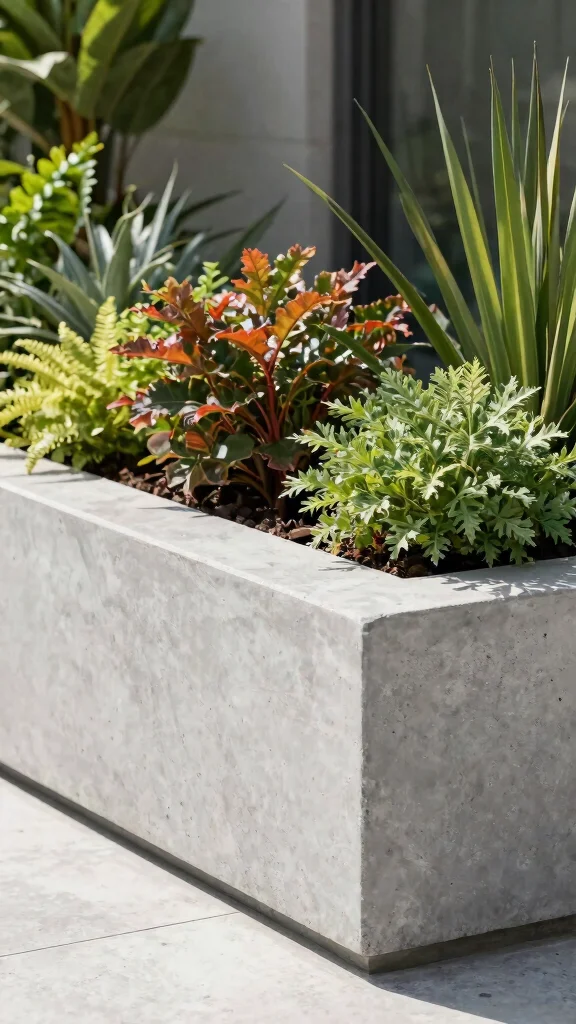
For a modern and minimalist aesthetic, consider making a concrete planter box! This sturdy option offers excellent drainage for your plants, and you can mold it into any shape or size that fits your garden.
Mix the concrete according to package instructions and pour it into molds for your desired shape. Allow it to cure, then fill with potting soil and plant your selections.
Key steps to get started:
– Mix concrete as per instructions
– Pour into molds for shaping
– Let cure and remove molds
– Fill with potting soil and plant selections
This project adds a contemporary touch to your garden while being incredibly durable, making it a worthwhile investment!
14. Raised Bed Planter Box
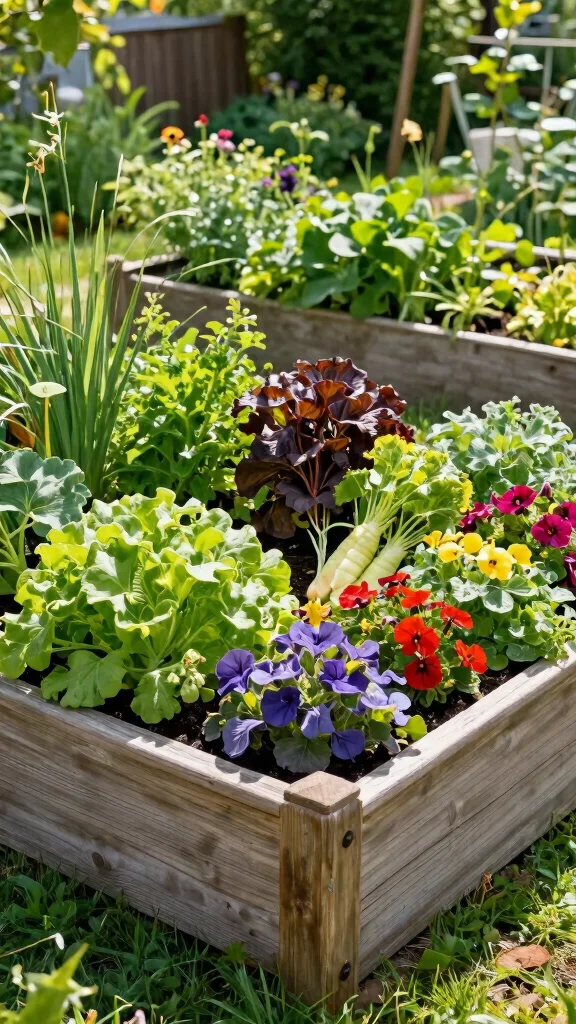
Enhance your gardening experience by creating a raised bed planter box! This design elevates your plants, making it easier to tend to them without bending down.
Start by cutting wood to create a rectangular shape based on your space, then assemble the boards securely. Place the box in your desired location and fill it with soil and plants.
Key steps to get started:
– Cut wood to form a rectangular shape
– Assemble securely with screws
– Fill with soil and plant selections
This raised planter box not only makes gardening more accessible but also improves drainage and soil quality, making it an excellent choice for any gardener!
Conclusion
Creating your own planter boxes is an exciting way to personalize your gardening journey while staying within budget. Each of these 14 DIY planter box ideas offers unique opportunities to elevate your outdoor spaces with creativity and style. Whether you choose a classic wooden design or something quirky like a recycled tire, these projects can be a fun weekend endeavor that brings beauty to your home.
Dive into your gardening adventure, and let your new creations inspire others to get their hands dirty too!
Note: We aim to provide accurate product links, but some may occasionally expire or become unavailable. If this happens, please search directly on Amazon for the product or a suitable alternative.
This post contains Amazon affiliate links, meaning we may earn a small commission if you purchase through our links, at no extra cost to you.
Frequently Asked Questions
What are the best DIY planter boxes you can build this weekend on a budget?
There are several simple options to kick off your weekend DIY gardening journey. Start with a basic wooden planter boxes design using rot-resistant lumber like cedar, waterproof screws, and landscape fabric. Plan for drainage with a bottom tray or perforated liner, and size your planters to fit your space and garden container ideas you have in mind. For budget-friendly results, reuse scrap lumber where safe and hunt for discounts on planter boxes diy materials. Once cut and assembled, seal with an outdoor-safe finish to extend life.
With practical designs and common materials, you can have a sturdy planter box ready for planting this weekend.
How can I create vertical garden planter boxes at home using simple materials?
Turn a wall or fence into a mini green wall with a simple vertical frame. Build a frame from 2x4s, attach horizontal slats to create pockets, and line the inside with landscape fabric. You can repurpose pallets or old crates into vertical units for vertical gardening and garden container ideas that are budget-friendly gardening. Drill drainage holes and seal with an outdoor finish. Mount on a sturdy surface, add compost and proper irrigation, and you’ve got a space-saving solution for planter boxes diy that goes up this weekend.
Which wood types and finishes work best for durable outdoor wooden planter boxes?
Go with rot-resistant woods like cedar, redwood, or cypress. These woods withstand weather without frequent maintenance. Use outdoor-grade, non-toxic finishes or water-based sealants to keep veggies safe if you’re growing edibles. Line each box with a breathable liner to protect the wood, ensure good drainage, and avoid metal fasteners that rust. A simple coat of sealant every season keeps your planter boxes looking fresh for years.
That way your wooden planter boxes stay durable while remaining budget-friendly.
What are practical tips to assemble planter boxes quickly for weekend DIY gardening?
Plan your layout and cut list before you start—measure twice, cut once. Pre-drill all holes to prevent splitting, then assemble using wood glue and screws for sturdy joints. Use corner braces for extra strength and line the interior with landscape fabric for drainage. Keep the design simple (rectangular or shallow tiered boxes) to save time. Create a compact kit you can transport and assemble in a few hours, and seal at the end to protect against rain.
With these steps you’ll be able to complete multiple planter boxes diy projects in a single weekend.
How can I maximize small spaces with vertical planter boxes and other garden container ideas?
Think tall, slim, and modular. Use vertical planter boxes mounted on walls or fences, stackable crates, or hanging pockets to create lush corners on balconies or narrow patios. Group several containers to form a thriving micro-garden and keep the budget-friendly gardening vibe by choosing lightweight materials and repurposing items you already own. Add a simple drip irrigation line or watering can system to keep maintenance low while you enjoy your outdoor decor projects moment in weekend DIY gardening style.
These garden container ideas maximize space while staying affordable and stylish.
Related Topics
planter boxes DIY
wooden planter boxes
vertical gardening
budget-friendly gardening
outdoor decor projects
weekend DIY
container gardening
easy gardening projects
beginner friendly
garden aesthetics
sustainable gardening
DIY outdoor decor